Before beginning:
Before you can host a service, you must first have the WCF service assemblies to host. This link (http://msdn.microsoft.com/en-us/library/bb386386.aspx) describes the steps to create a WCF Service using Visual Studio.
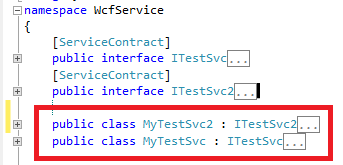
In this guide, well be hosting 2 WCF Services (MyTestSvc and MyTestSvc2).
Steps to Host the WCF Service
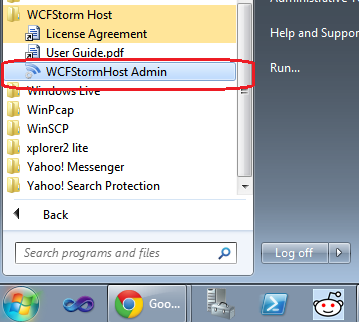
- Open WCFStormHost Administration Service (Start -> WCFStorm Host -> WCFStormHost Admin)
- The 1st time, WcfstormHost is used, the license agreement window will be shown. Click “I Agree” if you agree on license Terms.
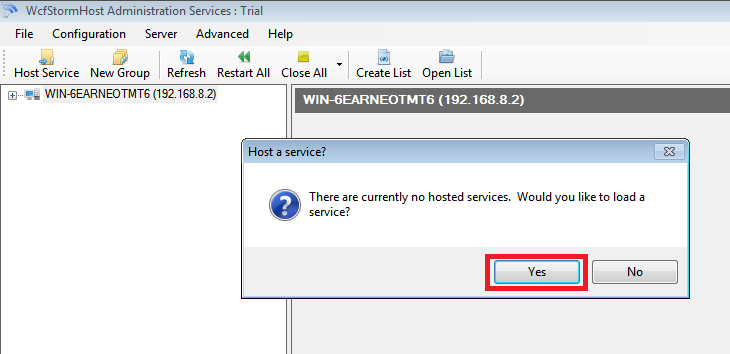
- The main window will be shown. In the message box, click Yes to select the folder where the wcf assemblies are located
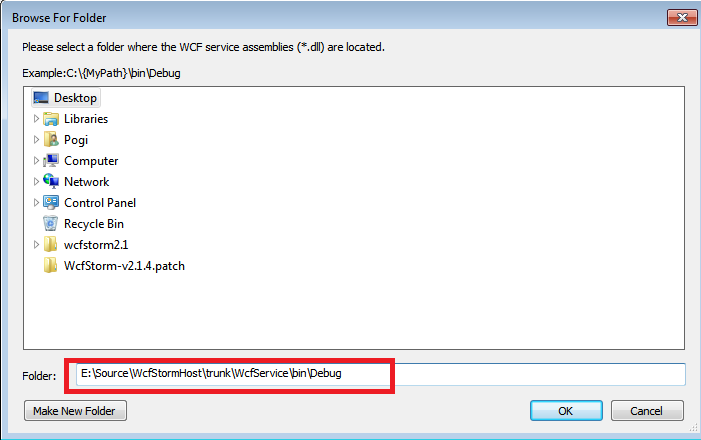
- Enter the path to the folder where the WCF Service assemblies are located. Click OK to have WCFStormHost scan the folder for WCF assemblies and config files
Note: If you built the service using Visual Studio, the assemblies will be in the bin\Debug or bin\Release folder
- Configure the WCF Service. Click OK

Note: The option to select the .NET 4.0 runtime (v4.0.30319) is available only if the runtime is installed on the server and if the WCF assemblies were built to target either .NET 3.5 or 4.0
If the WCF Service being hosted is using an “http” endpoint and the “Current User” (selected in step #5 above) does not have access to it, the message box below will be shown
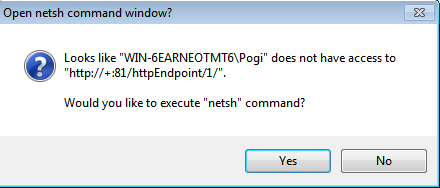
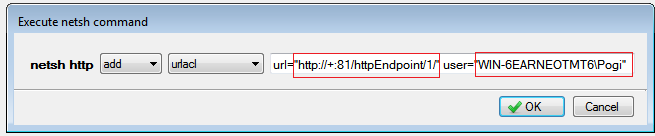
Click Yes to open the netsh command window and give the Current User (In this case, WIN-6EARNEOTMT6\Pogi) access to the url http://+:81/httpEndpoint/1
Click OK, then Go back to Step #4 to reload the service again
- if the services are hosted correctly, it will be shown the tree view
